
 Wound Care
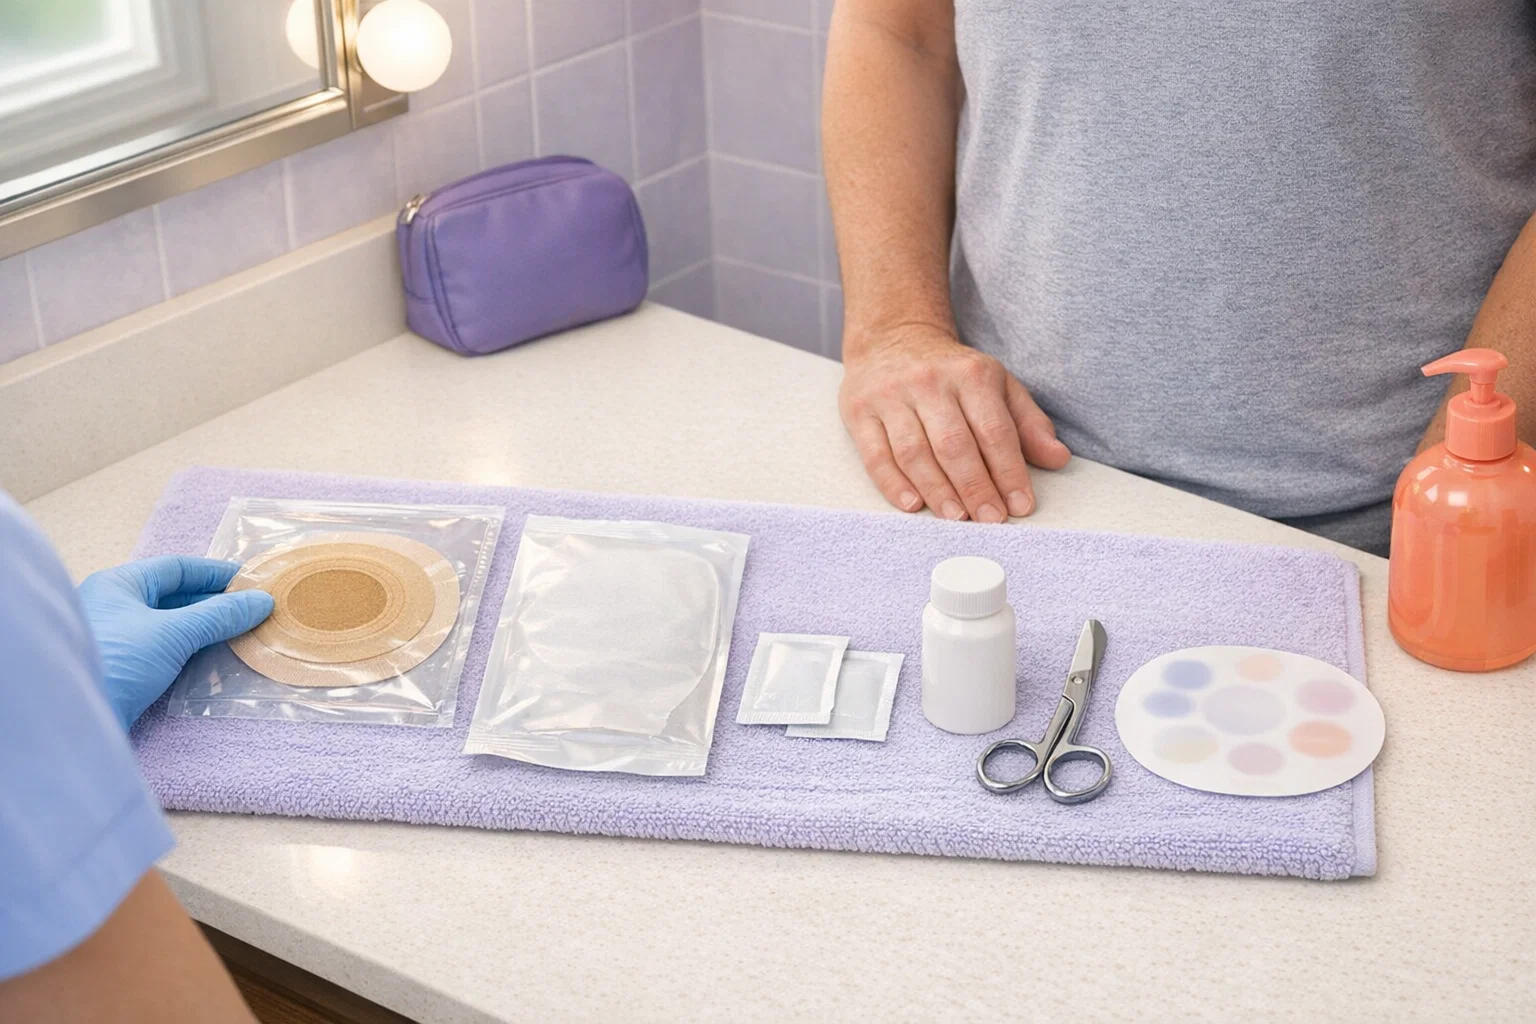

Coming home with a new ostomy after surgery is one of the most challenging transitions a patient can face. Whether you’ve had a colostomy, ileostomy, or urostomy, you’re suddenly responsible for managing an appliance system that keeps your body functioning — and the learning curve is steep. Between understanding pouch changes, protecting peristomal skin, adjusting your diet, and adapting your daily routine, the first few weeks at home can feel overwhelming.
The good news is that you don’t have to figure it out alone. Skilled nursing care at home provides hands-on training from registered nurses who specialize in ostomy management, right in your own bathroom and living environment. This guide covers everything you need to know about caring for an ostomy at home, from basic pouch management to when you need professional help.
Types of Ostomies and What They Mean for Home Care
Understanding your specific type of ostomy helps you anticipate the care it requires. There are three primary categories.
Colostomy is created when a portion of the colon (large intestine) is diverted to an opening in the abdomen. Output from a colostomy tends to be semi-formed to formed, depending on where along the colon the stoma is created. Colostomies are common after colon cancer surgery, diverticulitis complications, or trauma. Because the output is more predictable, many colostomy patients develop a regular routine and may eventually use a closed-end pouch changed once or twice daily.
Ileostomy is created when the ileum (the end of the small intestine) is diverted to an opening in the abdomen. Ileostomy output is liquid to semi-liquid and contains digestive enzymes that can rapidly damage exposed skin. This makes skin protection around the stoma critically important. Ileostomy patients typically empty their pouch five to eight times per day and must be vigilant about hydration since the colon — which normally absorbs water — has been bypassed.
Urostomy (ileal conduit) diverts urine away from the bladder through a segment of small intestine to an abdominal opening. Urostomy pouches must be equipped with a drainage spigot at the bottom and are typically connected to a bedside drainage bag at night. Skin care is important because constant contact with urine can cause irritation.
Essential Ostomy Pouch Change Procedure
The foundation of ostomy care is the pouch change — removing the used appliance, cleaning and assessing the stoma and surrounding skin, and applying a fresh appliance with a secure seal. During your hospital stay, a wound ostomy continence nurse (WOCN) typically performs the first several changes while teaching you the process. But mastering this at home, in your own space, takes practice and guidance.
Gather your supplies before starting. You will need a new ostomy pouch and wafer (barrier), scissors or a pre-cut wafer, stoma measuring guide, adhesive remover wipes or spray, gentle skin cleanser or warm water and soft cloths, skin barrier wipes or spray, a plastic bag for disposal, and a mirror if you need to see the stoma more clearly.
To remove the old appliance, hold the skin taut with one hand while gently peeling the wafer away from the top down. Use adhesive remover if the wafer sticks. Never rip the appliance off, as this can tear fragile peristomal skin. Once the old pouch is removed, gently clean the skin around the stoma with warm water and a soft cloth. Avoid using soap with oils or lotions near the stoma, as these can interfere with the new wafer’s adhesion.
Inspect the stoma and surrounding skin each time you change the pouch. The stoma itself should be red and moist — similar to the inside of your cheek. If it appears dark, blue, black, dry, or significantly swollen, contact your nurse or physician. The peristomal skin should be intact and healthy, matching the skin on your abdomen. Red, raw, weeping, or broken skin indicates a problem that needs attention.
Measure your stoma using the guide provided with your supplies. Cut the wafer opening to fit snugly around the stoma — ideally within 1/8 inch of the stoma edge. A gap that’s too large exposes skin to output, causing irritation. An opening that’s too tight can cut into or constrict the stoma. Apply skin barrier wipes to the peristomal skin and allow them to dry completely before applying the new wafer.
Press the wafer firmly against the skin, starting closest to the stoma and working outward. Hold gentle pressure for 30 to 60 seconds — body heat helps activate the adhesive. If using a two-piece system, snap or attach the pouch to the wafer. For ileostomy and urostomy patients, make sure the drainage opening at the bottom of the pouch is properly closed or clamped.
Peristomal Skin Care: The Most Common Challenge
Skin problems around the stoma are the number one complication that drives ostomates to seek professional help — and the number one reason why skilled nursing ostomy care at home is so valuable during the early weeks after surgery.
Common peristomal skin problems include irritant dermatitis, which is the most common issue where output leaks under the wafer and damages the skin, causing redness, pain, and weeping. The primary fix is ensuring a proper fit of your wafer to prevent leaks. Allergic contact dermatitis is a reaction to a component in your ostomy supplies, appearing as a rash that mirrors the shape of the product touching the skin. Switching brands or products usually resolves this. Mechanical injury occurs from improper appliance removal, overly frequent changes, or aggressive skin cleaning. Using adhesive remover and gentle technique prevents this. Fungal infection appears as a red, bumpy rash in the warm, moist environment under the wafer. Antifungal powder prescribed by your nurse or physician treats this effectively.
If you develop skin problems you cannot resolve, a home health nurse can assess the issue, recommend treatment, and adjust your appliance technique in person — which is far more effective than trying to describe the problem over the phone.
Diet and Hydration After Ostomy Surgery
Your diet requires some adjustments after ostomy surgery, particularly in the first six to eight weeks while your bowel heals. The general approach is to start with low-fiber, easy-to-digest foods and gradually reintroduce other foods one at a time to observe how your body responds.
For colostomy patients, most foods can eventually be reintroduced. Certain foods may increase gas production (beans, carbonated beverages, broccoli, onions) or cause odor (eggs, fish, garlic). Chewing food thoroughly and eating at regular intervals helps regulate output.
For ileostomy patients, food management is more critical. High-fiber foods can cause blockages, particularly in the first eight weeks. Foods that commonly cause ileostomy blockages include raw vegetables, corn, coconut, nuts, popcorn, dried fruit, mushrooms, and celery. These foods should be reintroduced carefully and in small amounts. Hydration is essential — ileostomy patients lose more fluid than normal and should aim for at least eight to ten glasses of water daily, plus electrolyte replacement if output is high.
For urostomy patients, diet is less of a concern, but adequate fluid intake is essential to maintain urine flow and prevent urinary tract infections. Certain foods and medications can change urine color or odor, which is normal.
When to Call Your Home Health Nurse
Part of adjusting to life with an ostomy is knowing when something is normal and when it requires professional attention. Contact your home health nurse or physician if the stoma changes color to dark red, purple, blue, or black, there is significant bleeding from the stoma that doesn’t stop with gentle pressure, you notice no output for more than four to six hours (ileostomy) or several days (colostomy) combined with cramping or nausea, peristomal skin is badly irritated and you cannot maintain a seal, you develop a fever or see signs of wound infection around the surgical incision, or you experience persistent leaking that you cannot resolve after multiple appliance changes.
These situations often require in-person assessment. A skilled nurse visiting your home can evaluate the stoma, troubleshoot your appliance system, and intervene before a manageable issue becomes an emergency room visit.
Emotional and Psychological Adjustment
Adjusting to an ostomy is not just a physical challenge — it affects body image, self-confidence, relationships, and mental health. Many new ostomates experience grief, anxiety, or depression in the weeks following surgery. These feelings are completely normal and do not mean you are failing to cope.
Your home health nurse is trained to recognize signs of psychological difficulty and can connect you with support resources including ostomy support groups (the United Ostomy Associations of America maintains a local group directory), social work services available through your home health agency, wound ostomy continence nurses (WOCNs) who specialize in holistic ostomy support, and online communities where you can connect with other ostomates.
Family members and caregivers also need support during this transition. Watching a loved one adjust to an ostomy can be emotionally difficult, and caregivers who assist with pouch changes benefit from the same hands-on training. Read our guide on essential tips for new caregivers.
How Skilled Nursing Supports Ostomy Patients at Home
A skilled nurse visiting your home after ostomy surgery provides several critical services that cannot be replicated through outpatient visits or phone consultations. The nurse assesses your stoma at each visit, looking for changes in size, color, shape, or output that may indicate complications. The nurse trains you and your caregiver in pouch changes using your actual supplies in your actual bathroom. The nurse troubleshoots fitting issues, leak patterns, and skin complications in real time. The nurse coordinates with your surgeon regarding healing progress and any concerns. And the nurse provides education on diet, activity, bathing, and lifestyle adjustments.
Most new ostomy patients benefit from skilled nursing visits two to three times per week during the first few weeks at home, gradually decreasing as confidence and independence increase. Under Medicare, these visits are covered as long as they are medically necessary — which they clearly are during the learning period after surgery.
Getting Ostomy Care at Home in Los Angeles
HarvardCare at Home provides skilled nursing ostomy care throughout Los Angeles County. Our registered nurses have experience with all ostomy types and work with patients from the day they arrive home from surgery through the transition to full independence.
If you or a loved one is coming home with a new ostomy, or if you’re an established ostomate experiencing complications, contact us at (323) 484-4440. We’ll coordinate with your surgeon’s office, verify your Medicare coverage, and schedule your first visit. We serve patients throughout LA County, including Glendale, Burbank, Pasadena, Beverly Hills, Encino, Long Beach, and 97 communities across the county.
Learn more about our ostomy care at home services or explore our full range of skilled nursing services.
